Create a simple Workflow console application using Xaml Workflow
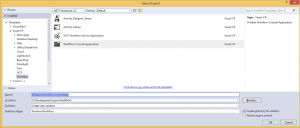
Go to new project in Visual Studio 2013 and select Installed>Templates>Visual C#>Workflow>Workflow Console Application
Give it a name “WindowsWorkflow.ConsoleApp”
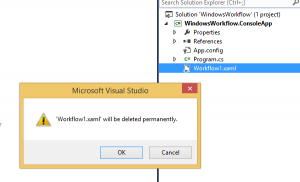
Delete Workflow1.xaml file as we will be adding a new file
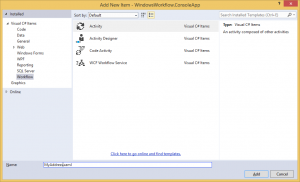
Right click on project and add a new file of Workflow and give it a name “MyAddress.xaml”
Now from the toolbar drag and drop Sequence (Under Controlflow listed)
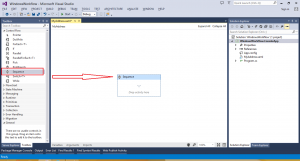
Now from toolbar drag and drop WriteLine (under Primitives)
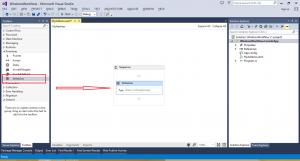
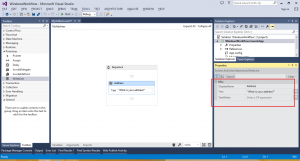
Now right click on WriteLine and go to properties
Change the DisplayName to Addres and text to “What is your address?”
then save the changes
Now drag and drop Assign under Address.
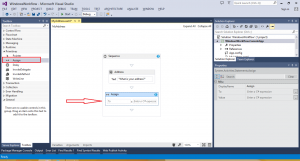
Select sequence and then go to variables and add a new variable and give it a name – leave rest like it is
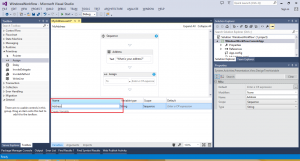
Right click on Assign, go to properties and change the values to
> To = Address
>C# expression = Console.ReadLine()
Address is our variable we have declared previously and Console.ReadLine() will take input from user
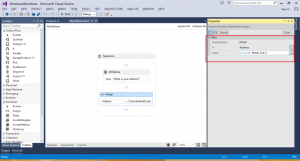
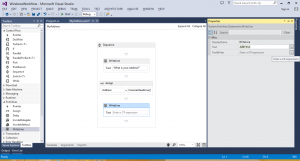
Now drop an other WriteLine at the end and change the values as below
Now go to Program.cs and change the values as below
static void Main(string[] args)
{
Activity workflow1 = new MyAddress();
WorkflowInvoker.Invoke(workflow1);
}
Once done, build your project
then ctr + F5 to get the results
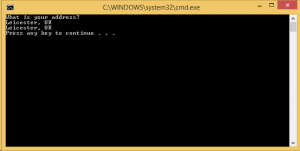
This will ask you to enter your address and then display results.
This was a very basic program on Windows Workflow which can be extended to use more activities inside of it.
Complete source code below
